Adding a device
-
Log in to the commissioning interface.
-
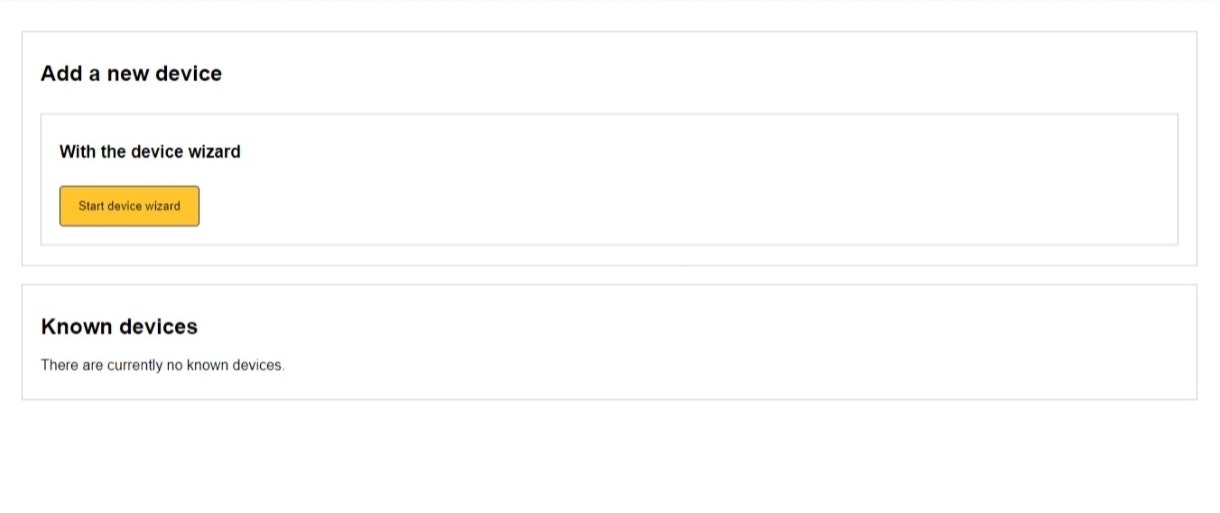
Go to the "Devices" tab and click "Start device wizard".
- Choose which type of device you want to add.

- Select the brand of the device.

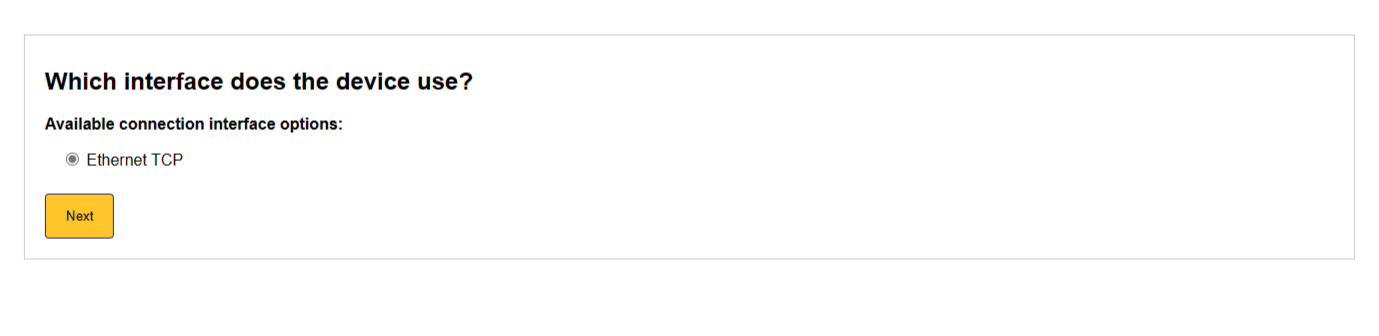
- Select how the device is connected. Depending on the device type and brand, the following options are available: Depending on the device type and brand, the following options are available:
note
If the mode is not displayed then this connection mode is not supported, or - in the case of a P1 cable - your cable is not properly connected to the SmartgridOne Controller. Please contact your installer or supplier.
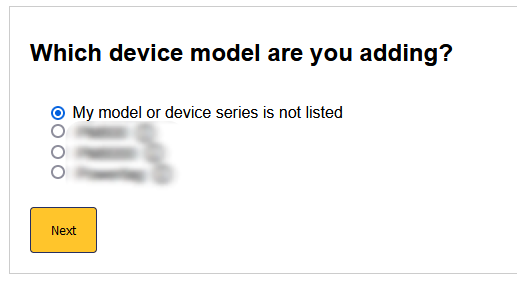
- Select the used communication protocol of your device. If the model of your device is not mentioned, you can try using different communication protocols.
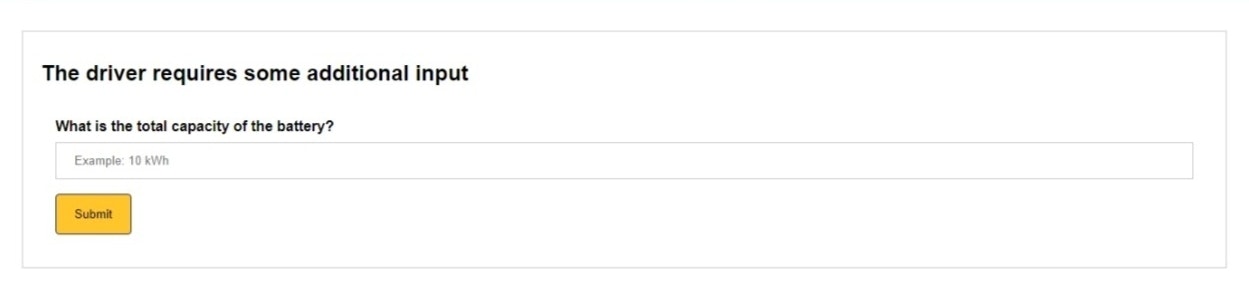
- Enter the additional inputs as requested.
- (Only shown for Ethernet TCP connections, skip this step if you are using RS485 connection). Select the device you want to add. You can do this by: a. Add by MAC address (recommended). b. Add by IP address (not recommended unless you are sure the converter has a fixed IP address).

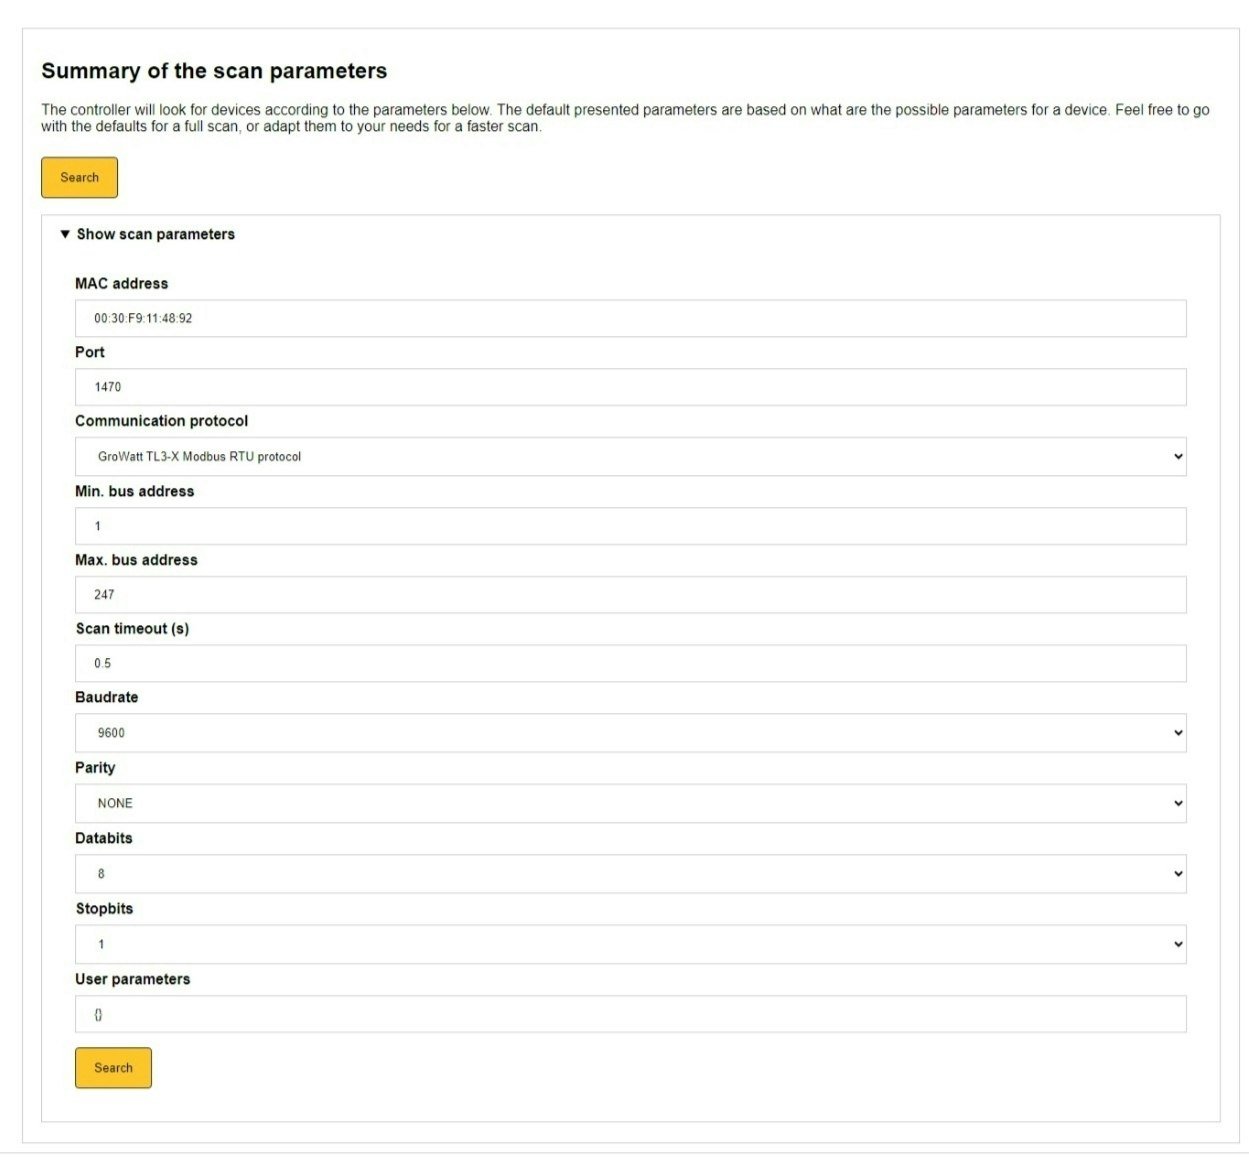
- (This steps and onwards are for both TCP and RS485) In the next step, if required, you can manually adjust the parameters used to search for the device. In most circumstances, we recommend staying with the default set values.
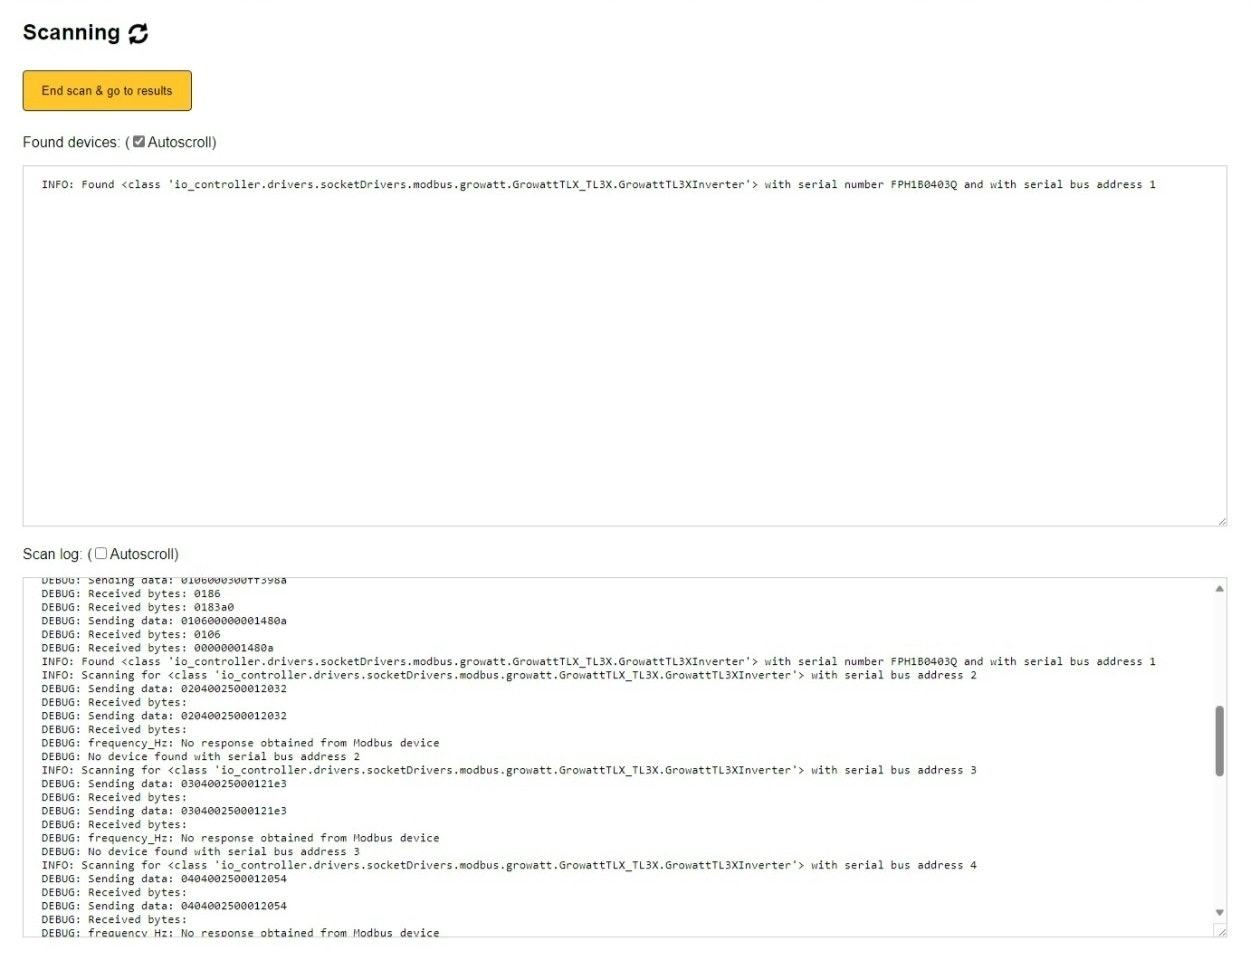
- The next step searches for the device. Click "End scan & go to results" when the device is found. You do not have to wait for the scan to end completely to continue.
Tip for RS485 connections
If your device has a high number as an address, it can take some time before it is found. It is recommended to choose low numbers as addresses in your device if you can (1, 2, 3, etc.).
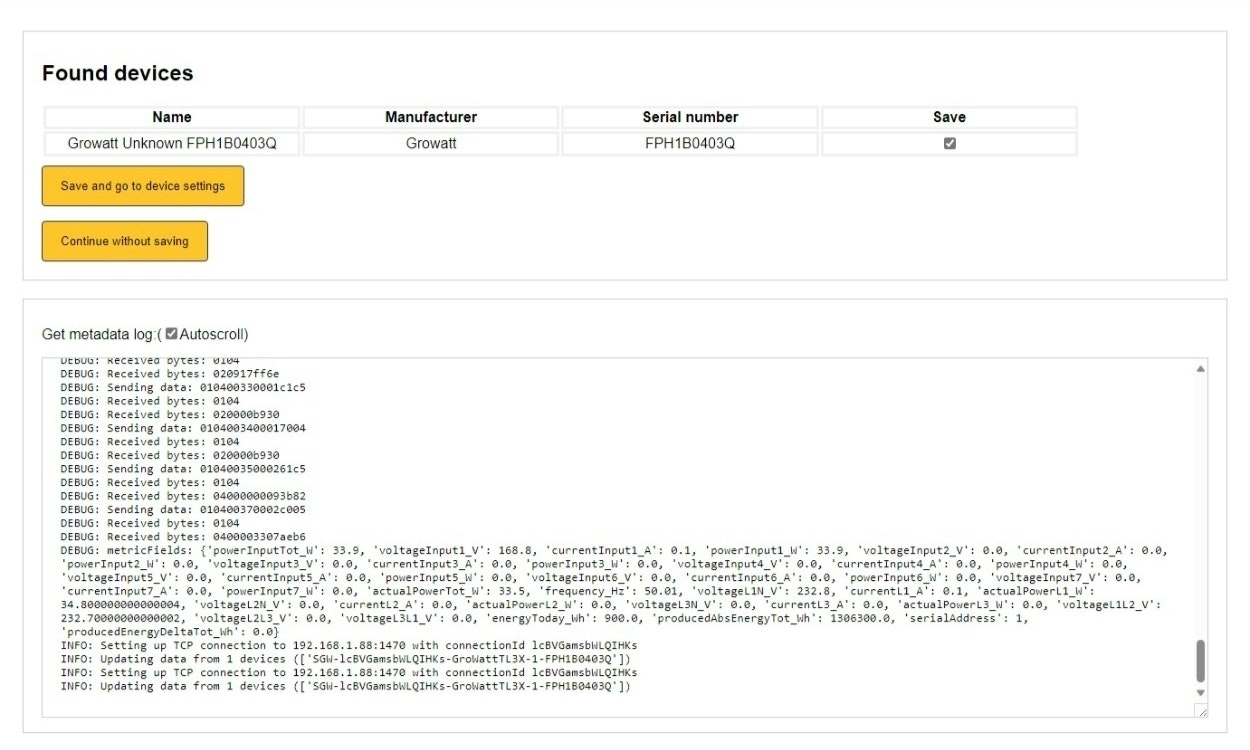
- Save the device. In this step, the specifications of the device are read out. After this, you can save the device. Click on "Save and go to device settings".
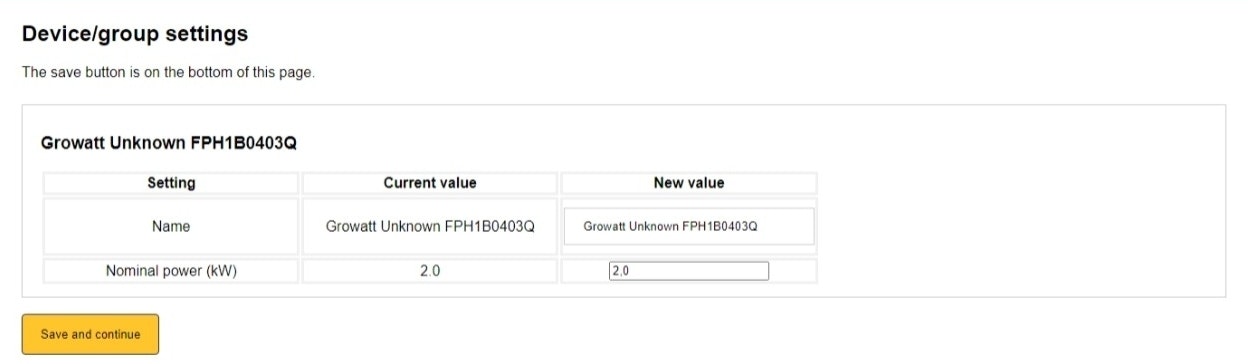
- Further complete the device settings.
Troubleshooting
If you experienceany issue :
- With RS485 connection follow this link : https://docs.eniris.be/Troubleshooting/device-communication/#rs485
- With TCP connection follow this link : https://docs.eniris.be/Troubleshooting/device-communication/#ethernet